
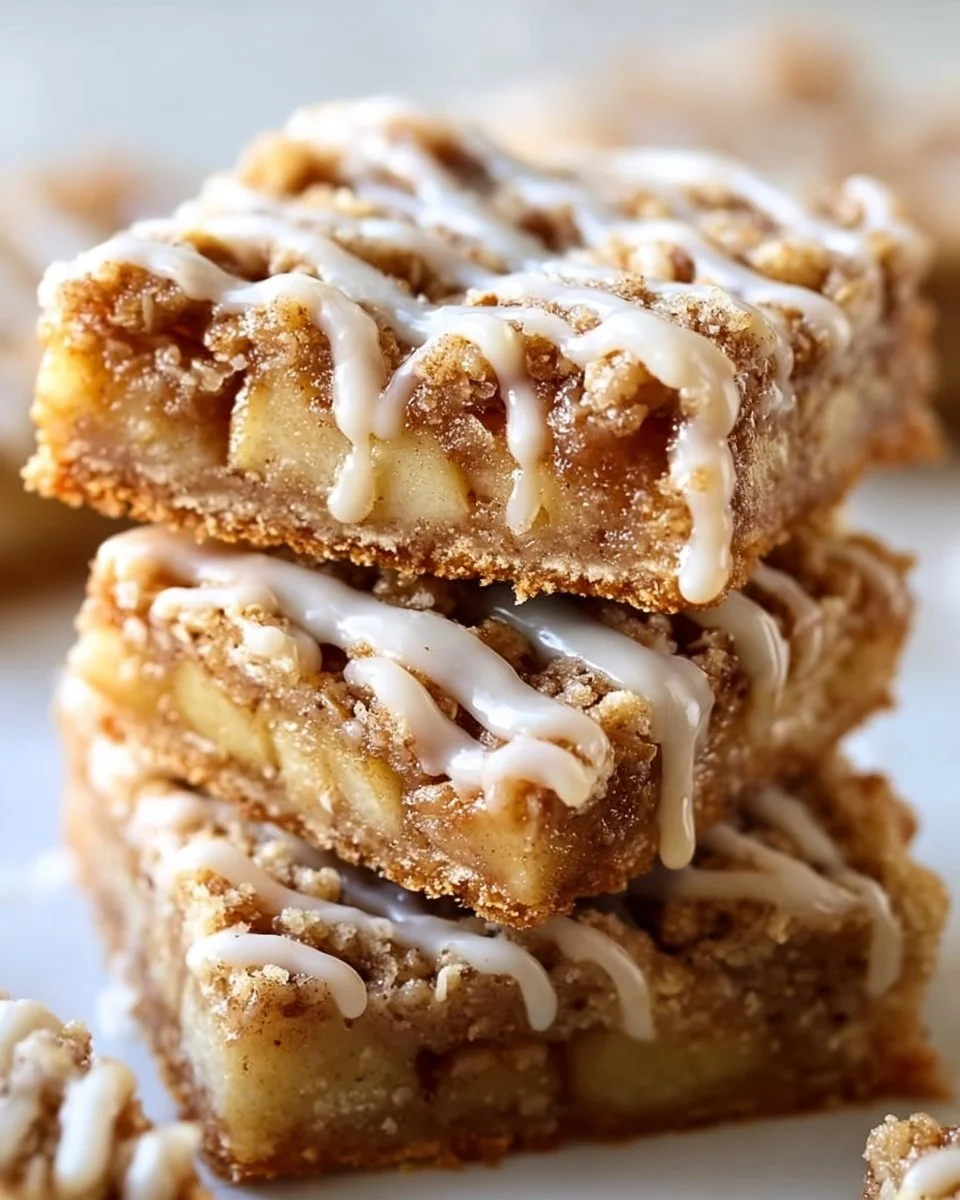
There’s something utterly comforting about a classic dessert that can be enjoyed any time of the year, and these Apple Bars fit the bill perfectly. Bursting with the flavors of sweet apples and warm spices, they are a delightful treat for your taste buds. Whether it’s for a family gathering, a picnic, or simply an afternoon snack, these bars will impress everyone at the table. What makes them even better is that they are easy to prepare and full of wholesome ingredients. Get ready to enjoy a slice of nostalgia with each bite!
What Makes This Recipe So Good
This recipe is fantastic for several reasons. First and foremost, it’s incredibly straightforward, making it perfect for both novice and experienced bakers. With a simple list of ingredients and easy-to-follow steps, you’ll find yourself baking these delicious bars in no time. Additionally, it’s a budget-friendly dessert. Most of the ingredients are pantry staples, allowing you to whip these up without a special trip to the store. Plus, their warm, comforting flavor makes them a family favorite, ensuring they never last long on the counter!
A Glimpse into the Cooking Method
Creating these Apple Bars involves a few simple steps that come together seamlessly. You start by mixing your dry ingredients with cold, cubed butter to form a crumbly crust. After baking this base for a short period, you prepare the apple filling by tossing chopped apples with a few flavor boosters. The assembly is quick and easy: spread the apple mixture over the pre-baked crust, sprinkle the reserved crumb mixture on top, and finish baking. Before you know it, your kitchen will be filled with the delightful aroma of cinnamon and baked apples!
Ingredients
Prep Time: 20 minutes
Cook Time: 45 minutes
Total Time: 1 hour 5 minutes
Servings: About 12 bars
- 2 cups all-purpose flour
- 1 1/2 cups old-fashioned oats
- 1/2 cup granulated sugar
- 3/4 cup brown sugar
- 1 cup unsalted butter, cold and cubed
- 1/2 teaspoon salt
- 1 1/2 teaspoons ground cinnamon
- 1/4 teaspoon nutmeg (optional)
- 3 cups apples, peeled and chopped
- 1 tablespoon lemon juice
- 1 tablespoon cornstarch
- 1 teaspoon vanilla extract
- 1/2 cup powdered sugar
- 1–2 tablespoons milk (for glaze)
Each ingredient in this recipe contributes to the overall texture and flavor of the bars. The combination of all-purpose flour and oats gives the crust a satisfying chew, while the apples add moisture and sweetness. Ground cinnamon and nutmeg infuse the bars with warm flavors that remind you of fall.
Step-by-Step Instructions
Making these Apple Bars is a fun and straightforward process. Follow these detailed steps to end up with delicious results:
- Preheat the oven: Start by preheating your oven to 350°F (175°C). While it warms up, line a 9×13-inch baking pan with parchment paper to make removal easier after baking.
- Make the crust: In a large mixing bowl, combine the all-purpose flour, old-fashioned oats, granulated sugar, brown sugar, salt, and ground cinnamon. Stir the dry ingredients together until evenly mixed. Then, cut in the cold, cubed butter using a pastry cutter or your fingertips until the mixture resembles coarse crumbs.
- Reserve topping: Set aside 1 ½ cups of the crumb mixture to use as a topping later. Press the remaining mixture firmly into the bottom of your prepared pan, ensuring even coverage. Bake this crust for about 10 to 12 minutes, or until it’s lightly golden.
- Prepare the apple filling: In another bowl, toss the peeled and chopped apples with lemon juice, cornstarch, vanilla extract, additional cinnamon, and nutmeg (if you’re using it). This will help to prevent browning and enhance the flavor.
- Assemble the bars: Once the crust has baked, remove it from the oven and spread the apple mixture evenly over the top of the hot crust. Then, sprinkle the reserved crumb topping over the apple layer.
- Bake again: Return the pan to the oven and bake for an additional 30 to 35 minutes, or until the top is golden brown and the apple filling is bubbly.
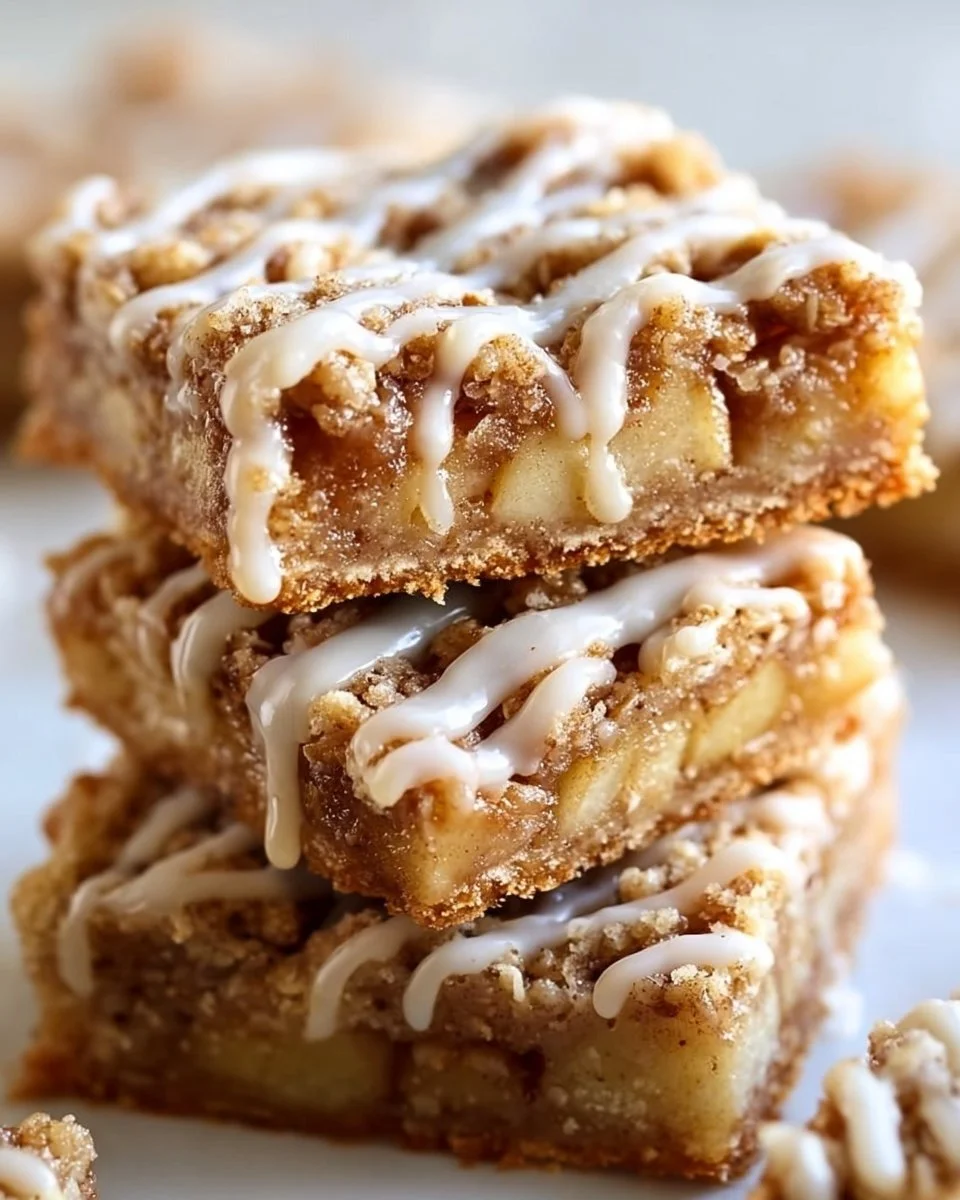
- Cool and glaze: Allow the bars to cool completely in the pan. Once cooled, whisk together the powdered sugar and milk until you achieve a pourable consistency for the glaze. Drizzle it over the bars before slicing them into squares.
Tip: For ease of cutting, you can refrigerate the bars for about 30 minutes after they have cooled; this will help you achieve clean slices.
Delicious Ways to Serve
These Apple Bars are super versatile when it comes to serving. They are delightful on their own, but you can elevate the experience with some fun accompaniments:
- Dollop of whipped cream: A light cloud of whipped cream on top can add a touch of indulgence.
- Scoop of vanilla ice cream: Warm bars paired with creamy vanilla ice cream create a heavenly dessert.
- Drizzle of caramel sauce: For an added touch of sweetness, drizzle caramel sauce over the top.
- Perfect for occasions: These bars are ideal for holidays like Thanksgiving, cozy gatherings, or even as a sweet treat with your afternoon coffee.
How to Store and Reheat
Storing your Apple Bars correctly is key to keeping them fresh. Here’s how:
- Refrigeration: Store the bars in an airtight container in the refrigerator for up to a week. Make sure they are completely cooled before sealing.
- Freezing: To store them longer, you can freeze the bars. Wrap them tightly in plastic wrap and then place them in a freezer-safe container. They will last for up to three months. Just thaw in the refrigerator when you’re ready to enjoy them.
- Reheating: For a warm treat, reheat individual bars in the microwave for about 15-20 seconds, or you can place them in a preheated oven at 350°F for a few minutes.
Expert Tips to Enhance Your Baking
Here are some practical tips to make your baking experience even better:
- Use cold butter: Cold butter helps to create a flaky crust, so make sure it’s well-chilled before starting.
- Don’t overmix: When combining the butter with the dry ingredients, mix just until combined to maintain a nice texture.
- Choose the right apples: For the best flavor, use a mix of sweet and tart apples like Granny Smith and Honeycrisp.
- Adjust sweetness: If you prefer a sweeter bar, feel free to add a bit more sugar to the filling or the crust.
Potential Variations to Try
This recipe is wonderfully adaptable, allowing you to customize it to suit your tastes:
- Nutty addition: Consider adding chopped nuts like walnuts or pecans to the crumb topping for an extra crunch.
- Dried fruits: You can incorporate raisins or dried cranberries into the filling for additional sweetness and texture.
- Spice it up: Experiment with other spices such as ginger or allspice to change the flavor profile of the filling.
- Gluten-free option: Swap the all-purpose flour for a gluten-free flour blend to make this a gluten-free dessert.
Common Questions Answered
Here are some frequently asked questions about these Apple Bars:
- Can I use frozen apples? Yes, you can use frozen apples. Just make sure to thaw and drain any excess moisture before using.
- What type of apples are best for baking? Tart apples like Granny Smith work well, while sweeter varieties like Fuji or Honeycrisp balance the flavors nicely.
- Can I make these bars vegan? You can try substituting the butter with vegan margarine and using a flax egg for the glaze.
- How do I know when they are done baking? They are ready when the topping is golden brown and the filling is bubbly.
- Can I double the recipe? Yes, you can easily double the recipe! Just use a larger baking pan and adjust the baking time slightly.